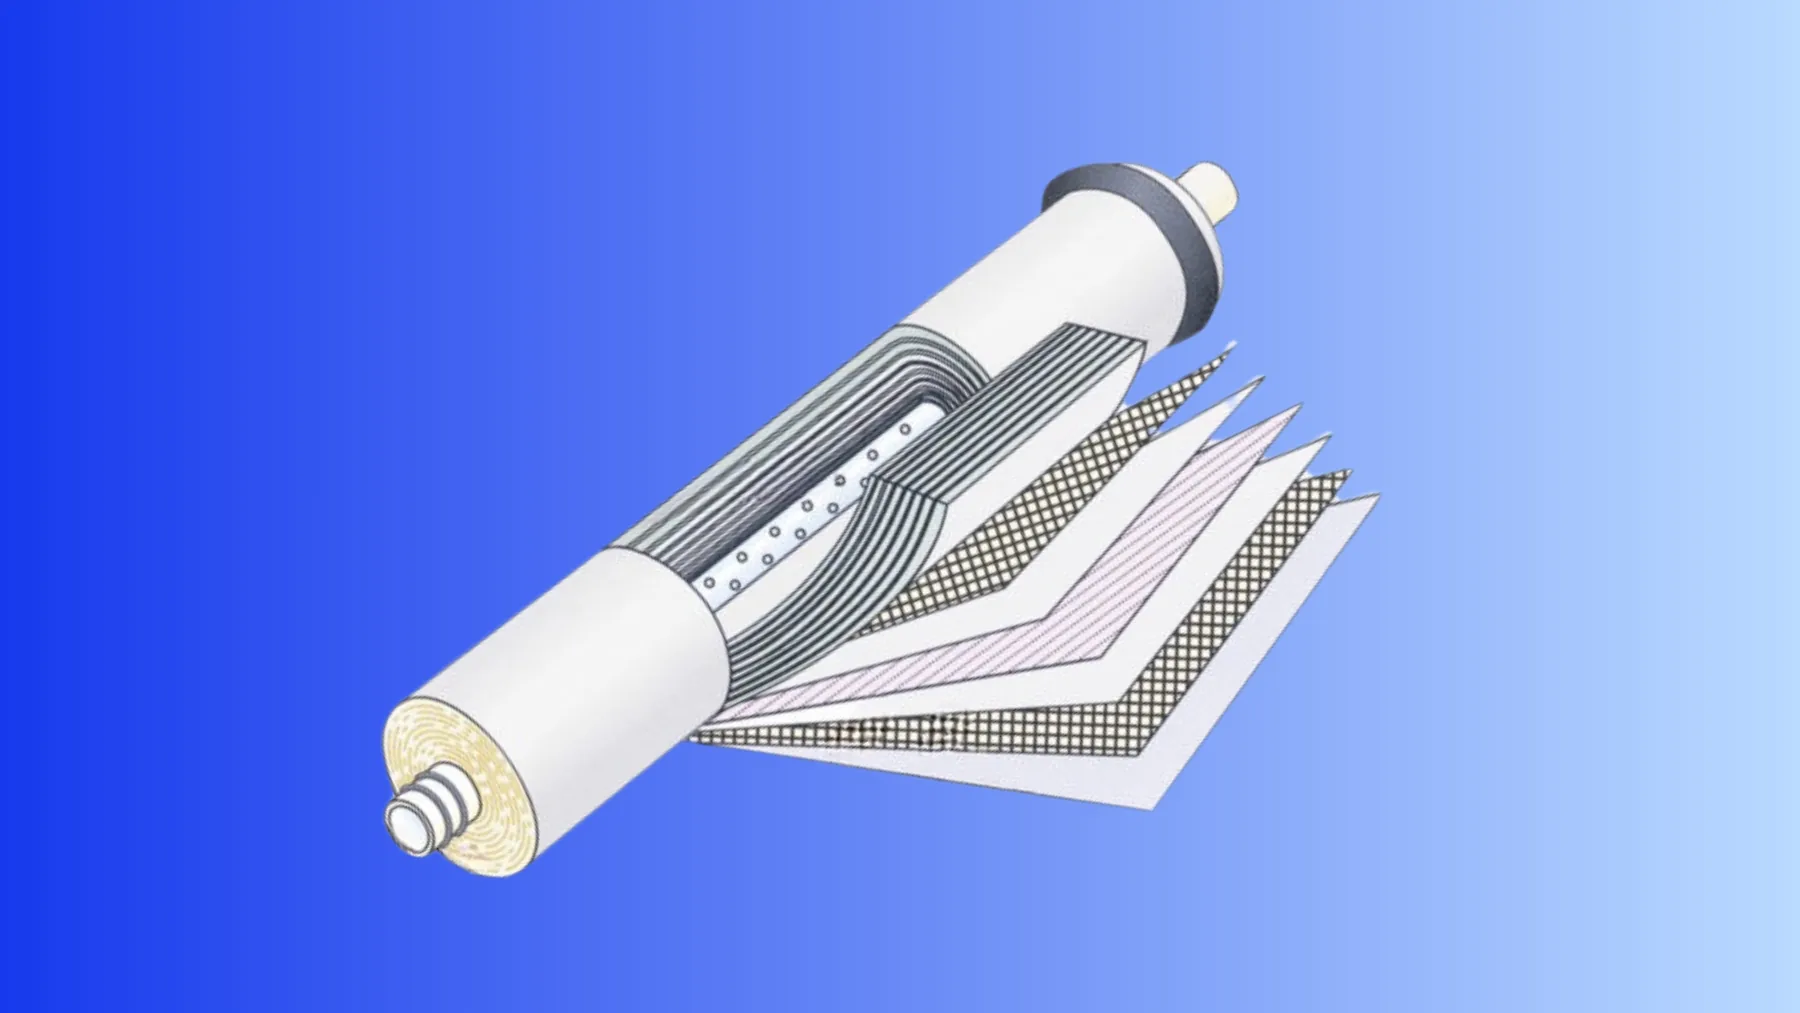
Replacing an RO Membrane: How to Measure When It's Time and Swap It in 10 Minutes
Knowing Exactly When It's Time
RO membranes typically last 1 to 2 years, but calendar age is just a guess. The actual trigger to replace should be based on measurable performance drops. Here are the two main metrics to track:
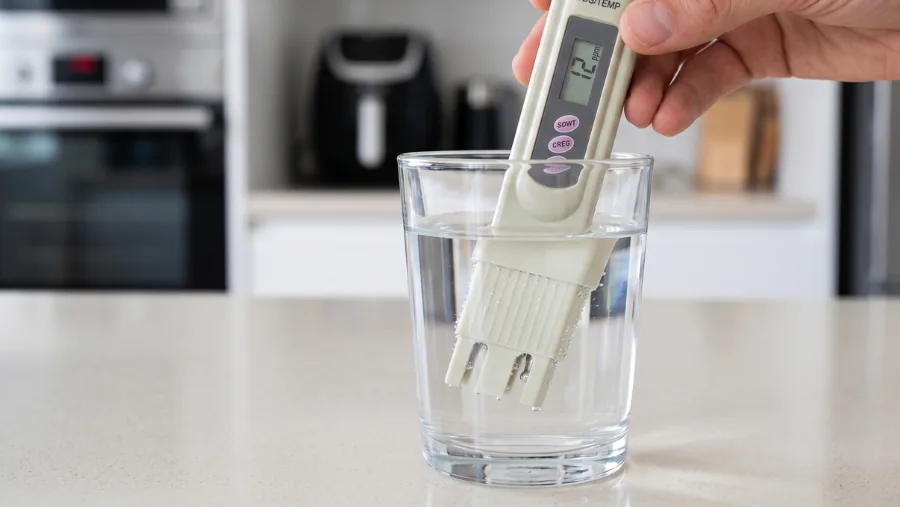
1. The TDS Climb (Total Dissolved Solids) If your filtered water used to read 0–15 ppm on a TDS meter and is now creeping past 30–50 ppm (or greater than your raw tap water TDS), the membrane has lost its rejection rate. That's the definitive signal to replace.
2. The Flow Rate Drop Watch for slower fill rates on your holding tank or a weak trickle at the faucet. As membranes age, they foul with minerals and particulates. If it takes twice as long to fill a pitcher as it did a year ago, the membrane's pores are clogged.
What You'll Need
Because our systems use encapsulated, disposable membranes, you don't need a heavy wrench or have to wrestle with dirty, slimy housings. The housing and membrane are one sealed unit.
- The replacement encapsulated membrane matched to your system.
- A towel to catch drips.
- 10 minutes (no wrenches required).
The Replacement Process
- The replacement process will vary based on your setup.
Step 1 — Shut off the feed and depressurize. Close the cold-water shut-off feeding the system. If you have an RO tank, close the valve on the top of your storage tank. Then open your RO faucet and let it run until it dribbles to a stop — this bleeds the pressure from the lines.
Step 2 — Disconnect the membrane's drain line tubing. Have your towel ready. Simply push in the small plastic collar (collet) surrounding the stem elbow, and pull the elbow straight out. Then do the same for the drain line bulkhead inlet. Once the drain line is removed, the old membrane can be unscrewed.
Step 3 — Swap the units. Unscrew the old membrane from its filter head receptacle. Screw in the new membrane and ensure it's tightly installed into place.
Step 4 — Reconnect RO Drain Line. Locate the new flow restrictor, stem elbow, and drain line to be installed. Push the drain line tubing firmly into the drain line bulkhead quick-connect fitting. Then install the flow restrictor into the drain line and connect the stem elbow. Firmly press the stem elbow into the bottom of the new RO membrane. Pull back slightly on connections to ensure tubes are locked into place.
Step 5 — Flush the new RO Membrane. Turn your cold-water feed back on and open the required flush valves. Check for leaks around your fittings.
Verify With a TDS Meter
A healthy ratio is post-RO = 2–10% of input TDS (a 90–98% rejection rate). If your tap water is 250 ppm and the new membrane is reading 12 ppm, you're back in the optimal zone.
If the readings don't improve or flow remains slow, check that your tubing isn't kinked and verify that your pre-filters aren't clogged. An exhausted carbon pre-filter allows chlorine to pass through, which will slowly destroy a brand-new RO membrane, so be sure to replace them regularly.